Introduction
In this tutorial, we’ll show you how to create a role-based side menu in an Angular Ionic app that displays different menu items for admin and user roles. This is a common feature in apps that need access control or role-based navigation — such as dashboards, CRM tools, and event apps.
We’ll walk you through:
- Setting up the Ionic project
- Creating pages and authentication service
- Managing roles (Admin/User)
- Displaying dynamic side menus
- Implementing navigation and logout features
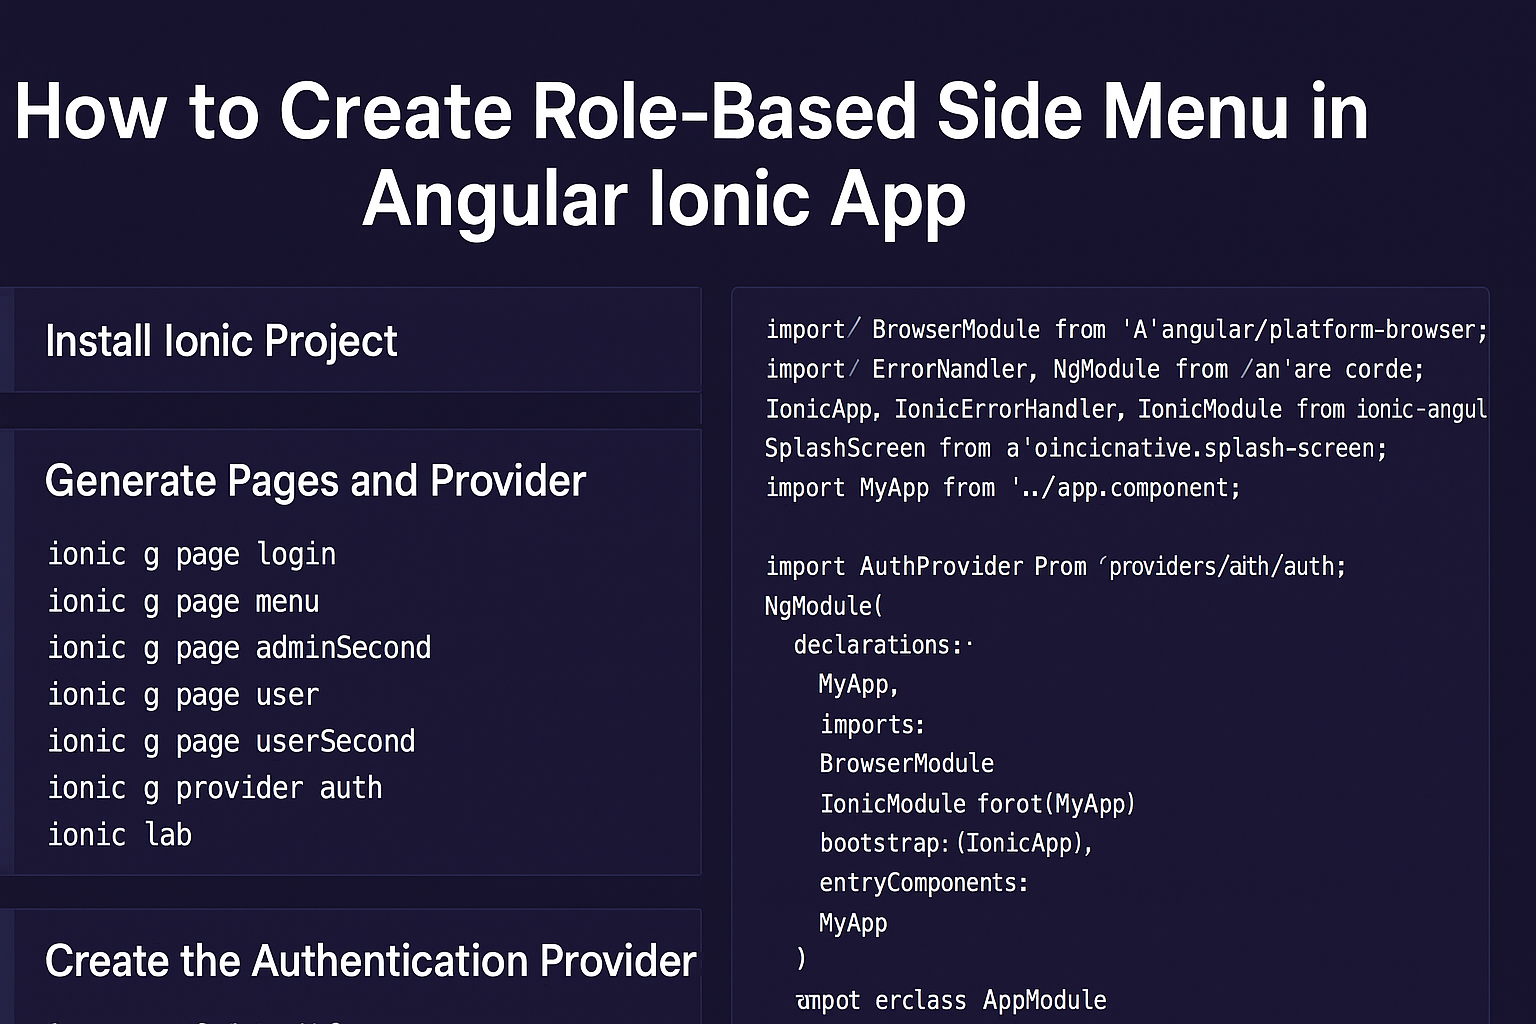
Step 1: Install Ionic Project
First, install a fresh Ionic Angular project using the following command:
ionic start project-name blank --type=angular
Once the project is created, navigate to your project folder.
Step 2: Generate Pages and Provider
We’ll create all necessary pages and a provider for authentication.
Run these commands in your terminal:
ionic g page login
ionic g page menu
ionic g page admin
ionic g page adminSecond
ionic g page user
ionic g page userSecond
ionic g provider auth
ionic lab
This will generate pages and the auth provider.
Step 3: Update app.module.ts
Now, open src/app/app.module.ts and import required modules and providers.
import { BrowserModule } from '@angular/platform-browser';
import { ErrorHandler, NgModule } from '@angular/core';
import { IonicApp, IonicErrorHandler, IonicModule } from 'ionic-angular';
import { SplashScreen } from '@ionic-native/splash-screen';
import { StatusBar } from '@ionic-native/status-bar';

import { MyApp } from './app.component';
import { AuthProvider } from '../providers/auth/auth';

@NgModule({
  declarations: [MyApp],
  imports: [BrowserModule, IonicModule.forRoot(MyApp)],
  bootstrap: [IonicApp],
  entryComponents: [MyApp],
  providers: [
    StatusBar,
    SplashScreen,
    { provide: ErrorHandler, useClass: IonicErrorHandler },
    AuthProvider
  ]
})
export class AppModule {}
Step 4: Create the Authentication Provider
Open providers/auth/auth.ts and add this authentication logic:
import { Injectable } from '@angular/core';

export interface User {
  name: string;
  role: number;
}

@Injectable()
export class AuthProvider {
  currentUser: User;

  constructor() {}

  login(name: string, pw: string): Promise<boolean> {
    return new Promise((resolve, reject) => {
      if (name === 'admin' && pw === 'admin') {
        this.currentUser = { name, role: 0 };
        resolve(true);
      } else if (name === 'user' && pw === 'user') {
        this.currentUser = { name, role: 1 };
        resolve(true);
      } else {
        reject(false);
      }
    });
  }

  isLoggedIn() {
    return this.currentUser != null;
  }

  logout() {
    this.currentUser = null;
  }

  isAdmin() {
    return this.currentUser.role === 0;
  }
}
This provider controls login, logout, and user roles.
Step 5: Create the Login Page
login.ts:
import { Component } from '@angular/core';
import { IonicPage, NavController, AlertController } from 'ionic-angular';
import * as auth from '../../providers/auth/auth';

@IonicPage()
@Component({
  selector: 'page-login',
  templateUrl: 'login.html',
})
export class LoginPage {
  user = { name: 'name', pw: 'admin' };

  constructor(
    public navCtrl: NavController,
    private authProvider: auth.AuthProvider,
    private alertCtrl: AlertController
  ) {}

  loginUser() {
    this.authProvider
      .login(this.user.name, this.user.pw)
      .then(success => {
        if (success) this.navCtrl.setRoot('MenuPage');
      })
      .catch(() => {
        let alert = this.alertCtrl.create({
          title: 'Login Failed',
          message: 'Please check your credentials',
          buttons: ['OK']
        });
        alert.present();
      });
  }
}
login.html:
<ion-header>
  <ion-navbar><ion-title>Login</ion-title></ion-navbar>
</ion-header>

<ion-content>
  <ion-list>
    <ion-item>
      <ion-label fixed>Username</ion-label>
      <ion-input type="text" [(ngModel)]="user.name"></ion-input>
    </ion-item>
    <ion-item>
      <ion-label fixed>Password</ion-label>
      <ion-input type="password" [(ngModel)]="user.pw"></ion-input>
    </ion-item>
  </ion-list>
  <button ion-button full (click)="loginUser()">Login</button>
</ion-content>
Step 6: Build the Role-Based Menu
menu.ts:
import { Component, ViewChild } from '@angular/core';
import { IonicPage, NavController, Nav, App } from 'ionic-angular';
import { AuthProvider } from '../../providers/auth/auth';

@IonicPage()
@Component({
  selector: 'page-menu',
  templateUrl: 'menu.html',
})
export class MenuPage {
  username = '';
  pages = [];
  @ViewChild(Nav) nav: Nav;

  constructor(public navCtrl: NavController, private authProvider: AuthProvider, private appCtrl: App) {}

  ionViewWillEnter() {
    if (this.authProvider.isAdmin()) {
      this.pages = [
        { title: 'Attendee List', page: 'AdminPage', icon: 'home' },
        { title: 'Feedback', page: 'AdminSecondPage', icon: 'chatbubbles' },
      ];
      this.openPage('AdminPage');
    } else {
      this.pages = [
        { title: 'Agenda', page: 'UserPage', icon: 'home' },
        { title: 'Feedback', page: 'UserSecondPage', icon: 'chatbubbles' },
      ];
      this.openPage('UserPage');
    }
    this.username = this.authProvider.currentUser.name;
  }

  openPage(Page) {
    this.nav.setRoot(Page);
  }

  logout() {
    this.authProvider.logout();
    this.appCtrl.getRootNav().setRoot('LoginPage');
  }

  ionViewCanEnter() {
    return this.authProvider.isLoggedIn();
  }
}
menu.html:
<ion-menu [content]="content">
  <ion-header>
    <ion-navbar><ion-title>Menu</ion-title></ion-navbar>
  </ion-header>

  <ion-content>
    <ion-list>
      <button ion-item *ngFor="let p of pages" (click)="openPage(p.page)">
        <ion-icon item-start [name]="p.icon"></ion-icon> {{ p.title }}
      </button>
    </ion-list>
  </ion-content>

  <ion-footer>
    <ion-toolbar>
      <ion-row align-items-center>
        <ion-col>{{ username }}</ion-col>
        <ion-col>
          <button ion-button full clear icon-left (click)="logout()">
            <ion-icon name="sign-out"></ion-icon> Logout
          </button>
        </ion-col>
      </ion-row>
    </ion-toolbar>
  </ion-footer>
</ion-menu>

<ion-nav #content main [root]="rootPage"></ion-nav>
Step 7: Add Admin and User Pages
Admin Page HTML:
<ion-header>
  <ion-navbar>
    <button ion-button menuToggle><ion-icon name="menu"></ion-icon></button>
    <ion-title>Admin</ion-title>
  </ion-navbar>
</ion-header>

<ion-content padding></ion-content>
User Page HTML:
<ion-header>
  <ion-navbar>
    <button ion-button menuToggle><ion-icon name="menu"></ion-icon></button>
    <ion-title>User</ion-title>
  </ion-navbar>
</ion-header>

<ion-content padding></ion-content>
Internal & External Links
- Internal Link: Check out our guide on How to Use Firebase with Ionic Angular.
- External Link: Learn more from the official Ionic Framework Documentation.
Conclusion
By following this tutorial, you’ve successfully built a role-based Ionic Angular app where admin and user see different menus. This concept is essential for secure navigation in modern mobile and web applications.
You can extend this further by:
- Connecting with real APIs for authentication
- Adding JWT-based token validation
- Storing user data in Firebase or a custom backend
For more Ionic tutorials, visit Gyaando.com.